
")
Beyond dental exams and cleanings, there are times when your child may need to visit the dentist for restorative dental treatment. One of the most common restorative treatments that pediatric dentists perform are composite fillings. Composite fillings use a dental material called composite resin to fill in small to medium sized cavities. Composite resin will blend with your child’s natural tooth structure, meaning that it will be invisible once it has been placed.
However most parents, and their children, are curious about what happens during a dental filling. Luckily, having a composite filling placed is minimally invasive, relatively quick, and painless. In fact, it only takes three steps to place a composite filling:
Step #1: Get Comfortable

The first step to getting a composite filling, or any restorative dental procedure for that matter, is to make your child comfortable. For younger children who may have dental anxiety or a hard time sitting still, dental sedation is likely to be recommended to keep them calm and still. The most commonly used dental sedation method is nitrous oxide since it can relax your child without any lingering effects after the procedure. When nitrous oxide is used, it is delivered through a small mask that fits over your child’s nose. Within minutes of inhaling the gas, they will begin to relax, but still remain conscious.
Once your child is relaxed, the next step is to deliver dental anesthetics to the treatment area. To minimize any discomfort from administering the anesthetics, a numbing gel is usually used to numb the area before the anesthetics are injected. Still, your child may feel a slight pinch. Any pain won’t last long since the anesthetics will quickly make your child’s mouth numb. This ensures that they will not experience any pain during the procedure.
Step #2: Prepare the Tooth
After your child has been made comfortable and the anesthetics have set in, the next step is to prepare the tooth. First, the decayed tissue will be removed using a dental drill. The remaining cavity will then be shaped to accommodate the filling. This generally only takes a few minutes and your child may feel pressure from the drill. In some cases, headphones can help to drown out the sound of the drill, if needed.
When all the decayed tissue is removed and the cavity has been shaped, an acidic liquid will be placed in the cavity to roughen up the enamel and dentin layers. Etching the surface of the cavity makes it easier for the composite resin to establish a strong bond with the natural tooth structure. The acid will be rinsed with water and the entire tooth will be thoroughly dried. In order for composite resin to adhere properly, the tooth must be kept dry until the filling material hardens. For this reason, your child’s dentist may use a dental dam, cotton, or suction to keep saliva away from the affected tooth.
Step #3: Place the Filling
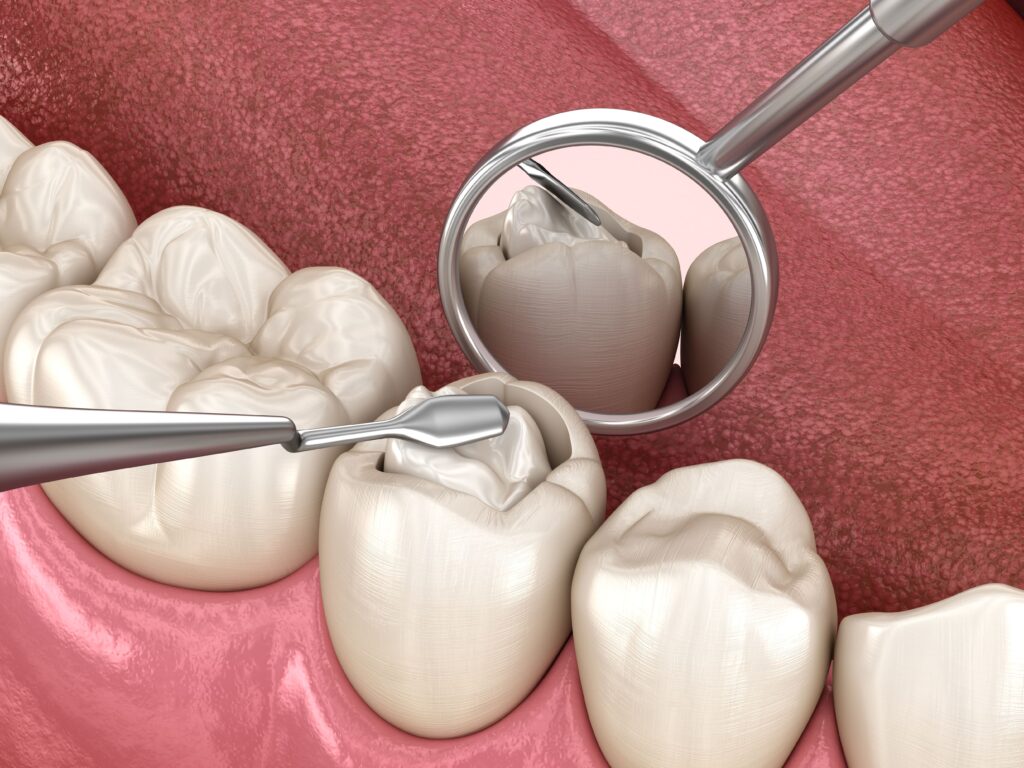
At this point, the final step is to actually place the composite filling. When it is first applied, composite resin is a soft gel. This allows the composite resin to completely fill the inside of the cavity and establish a firm bond with the natural tooth structure to prevent future decay. However, its soft consistency means that it will need to be applied in layers. Each layer of composite resin will then be hardened in place using a special curing light. Generally, it takes about 1-2 minutes to harden each layer and most composite fillings use around 3 layers. The final layer will be shaped and polished so that it blends in seamlessly with the rest of your child’s tooth.
The entire filling process usually takes about an hour from start to finish, however this can vary depending on how cooperative your child is during the process. Once your child is no longer inhaling nitrous oxide they should return to their normal selves and can continue with their day. In most cases, it may take an hour or so before the numbness wears off. When this happens, they may experience minor soreness while their tooth adjusts to the new filling. Therefore, it is recommended to adhere to a temporary soft foods diet for the first day or so.